
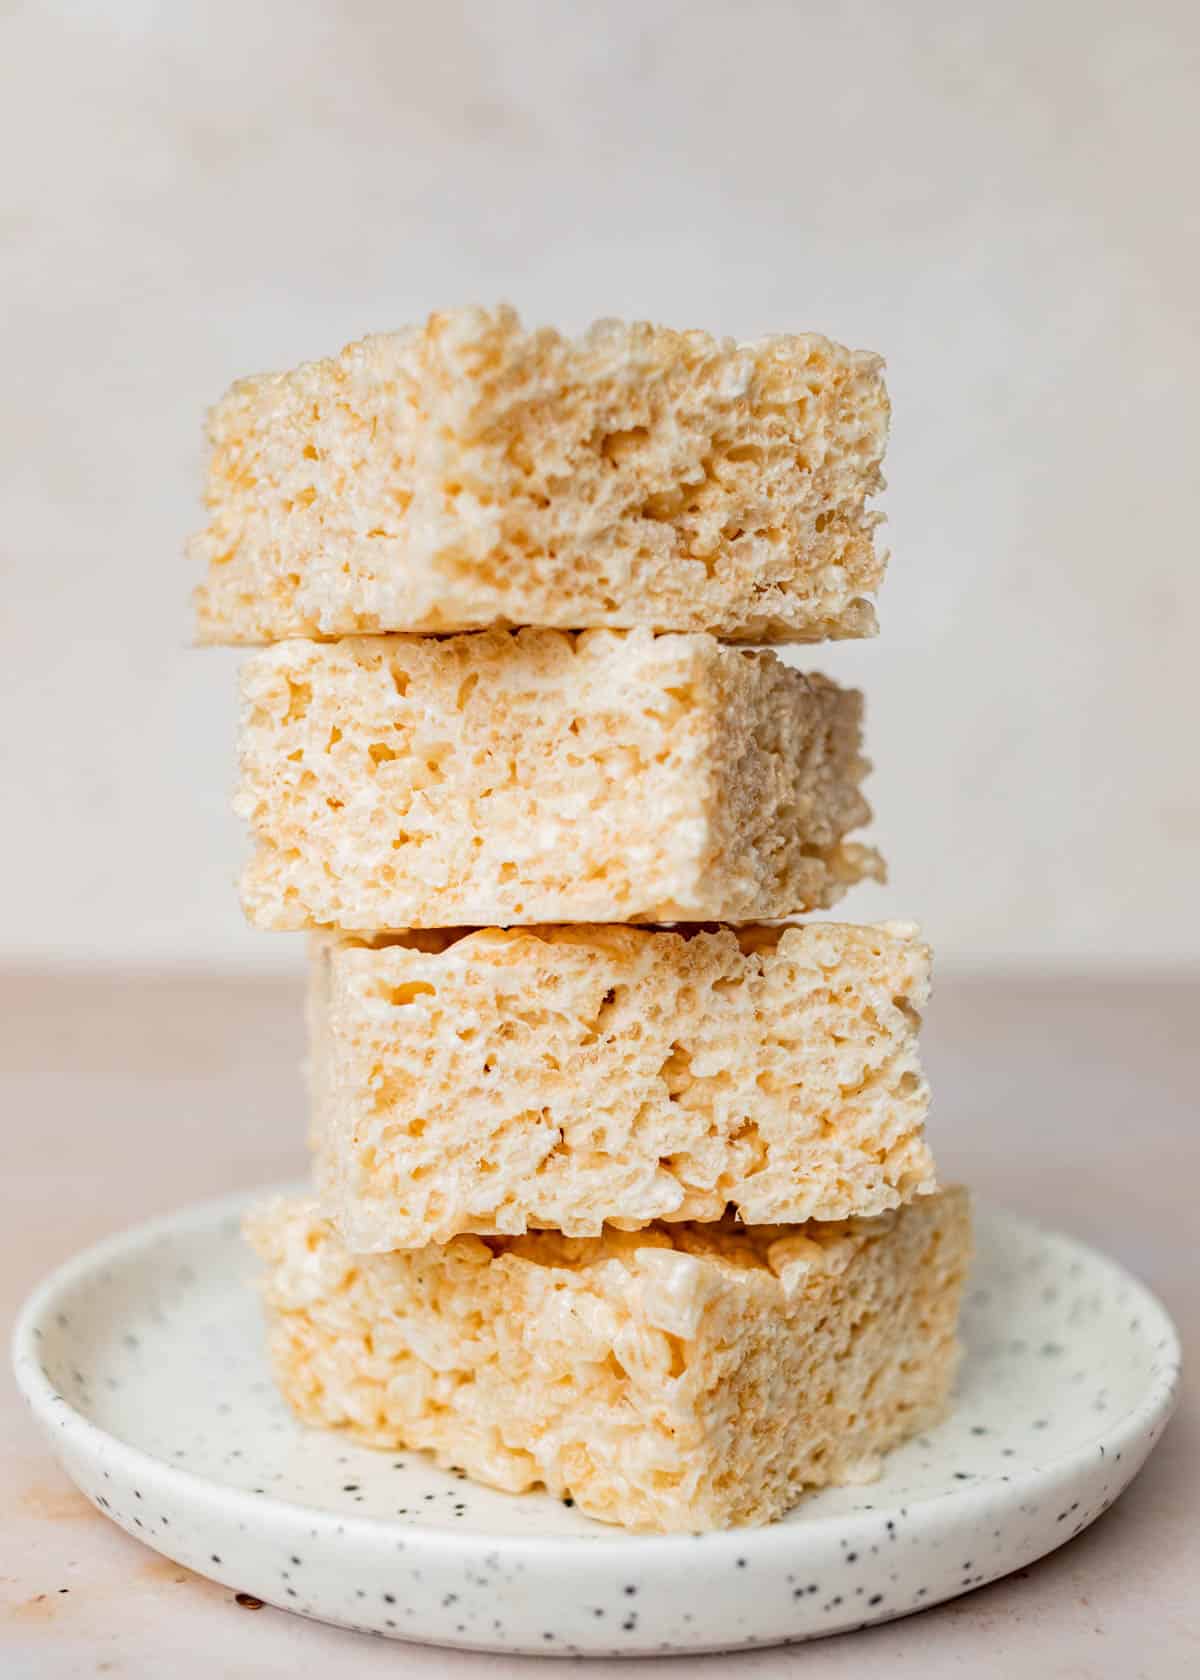
Nothing compares to classic Rice Krispie treats! Here’s a foolproof recipe that’s a million times better than any store-bought version. There are a few tricks to making the chewiest Rice Krispie squares. We reduce the amount of cereal from the original Kellogg's recipe to increase the ratio of marshmallow, and pack the final mixture into a square pan gently, using a piece of buttered parchment paper.
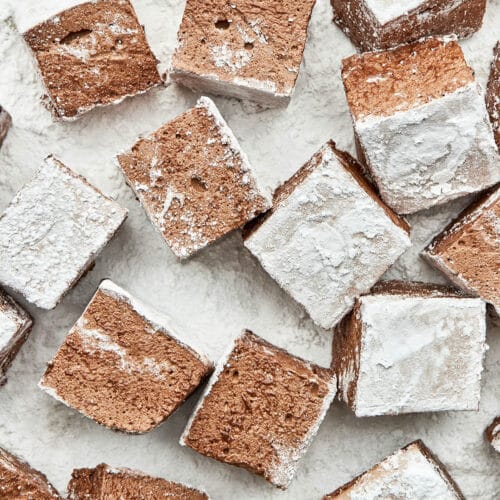
If you've got marshmallows on the mind, try our chocolate marshmallow cookies, Easter Bunny cupcakes, or easy no-bake rocky road bars.

Jump to:
Ingredients

Ingredient Notes and Substitutions
- Cereal: use any brand of rice crisp cereal, but don't mix it up with puffed rice, which is not at all crisp. You can that crispy texture here.
- Marshmallows: a freshly opened bag of marshmallows will make for the best chewy, soft rice krispie squares. Stale marshmallows won't melt properly and they'll turn out tough.
- Make it vegan: swap in vegan marshmallows and use a good quality dairy-free butter.
Method
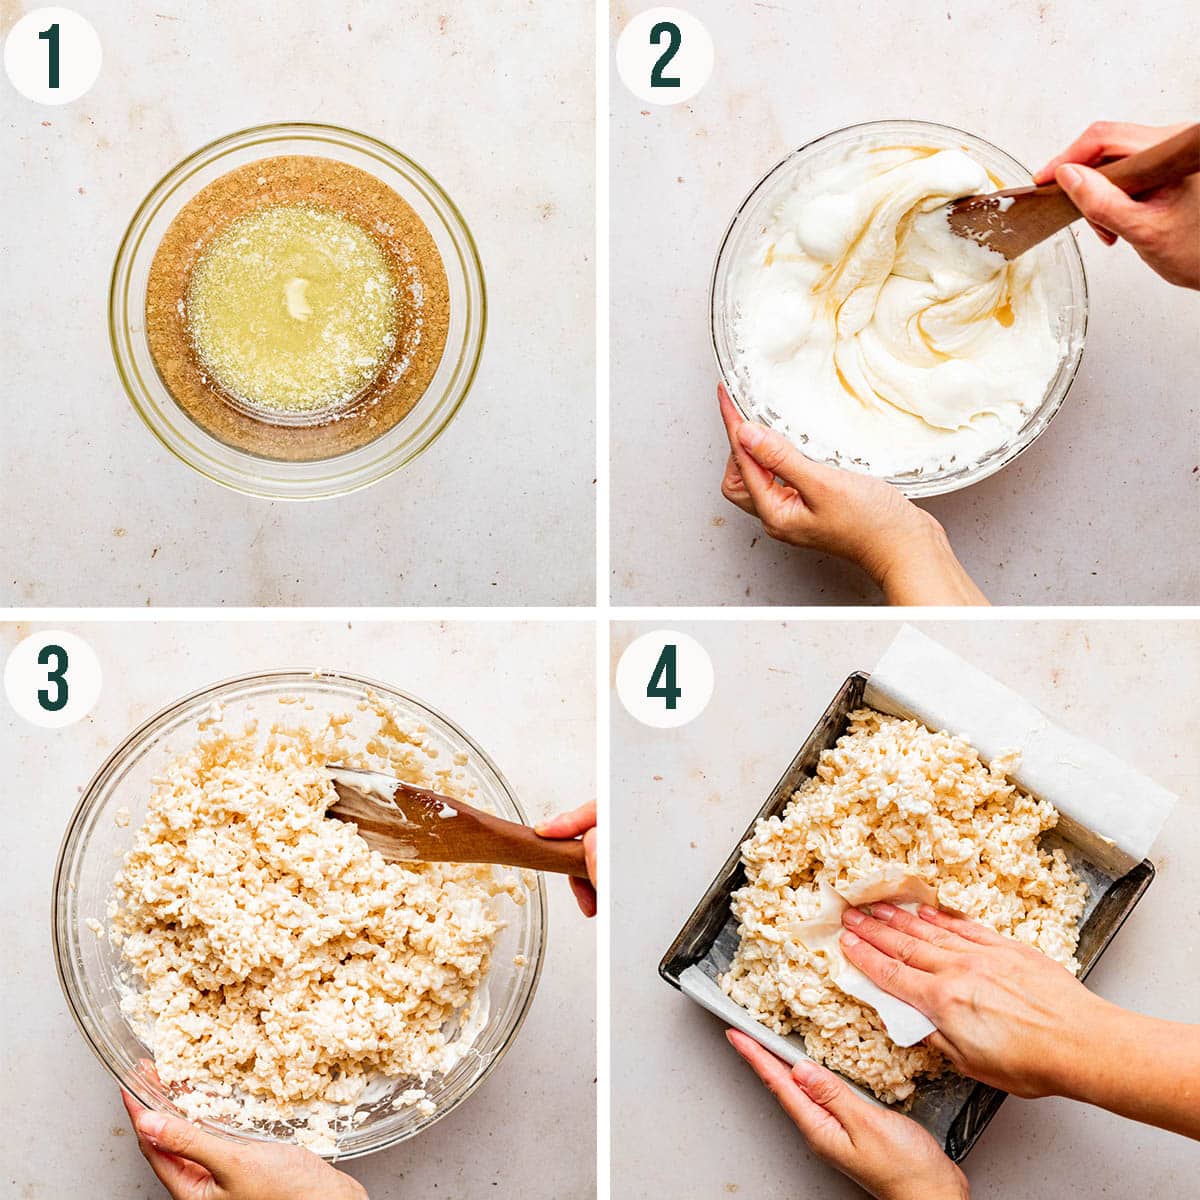
Step 1: prepare the tin and set aside, then melt the butter.
Step 2: mix the marshmallows into the butter, then melt in the microwave. Stir in, then mix in the vanilla.
Step 3: stir the cereal into the marshmallow mixture.
Step 4: press the mixture into the prepared tin.
Step 5: cool the rice krispie treats for at least 30 minutes.
Step 6: cut into squares of your desired size and serve.
Top Tips
- Make it without a microwave: follow the same method with a large pot on the stove top. We recommend melting the marshmallows on low heat, which takes longer, but will result in chewier Rice Krispie squares.
- Use fresh cereal: you must, and we cannot stress this enough, check your Rice Krispies for freshness before you begin! Nothing is worse than biting into a freshly made square only to find you used stale cereal from the back of the cupboard.
- Press gently: do not press the Rice Krispie mixture too tightly into the pan. You just want to even and smooth the mixture out, not flatten it. If you press too tightly it can make the squares hard.
Recipe Notes
The amount of time it takes to melt the butter and marshmallows is dependent on the power of your microwave.
If the marshmallows are still holding their shape after stirring the first time, continue to cook and stir them in 30 second increments until they are smooth and creamy.
How To Store
Storage: storing the treats in the fridge will make them harden. They can be kept in a sealed container at room temperature for 2-3 days, but are best the day they're made. Place a piece of wax paper between layers to prevent them from sticking.
Freezing: freeze an entire batch, well wrapped in a sealed container, for up to a month, or freeze individual squares in the same way. Thaw on the counter and serve as usual.
Add-ins and Variations
- Add one tablespoon of homemade chai spice or pumpkin pie spice for a delicious cool weather treat.
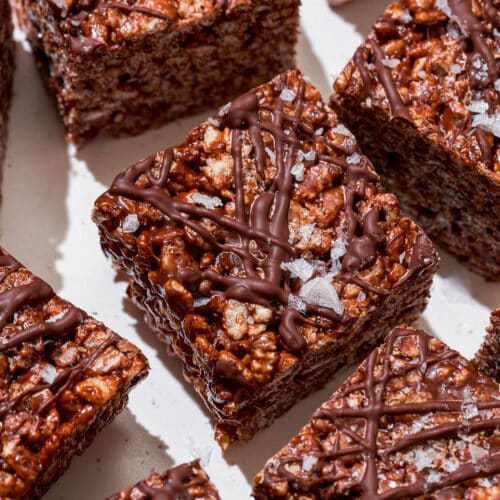
- Drizzle the top of your treats with melted chocolate.
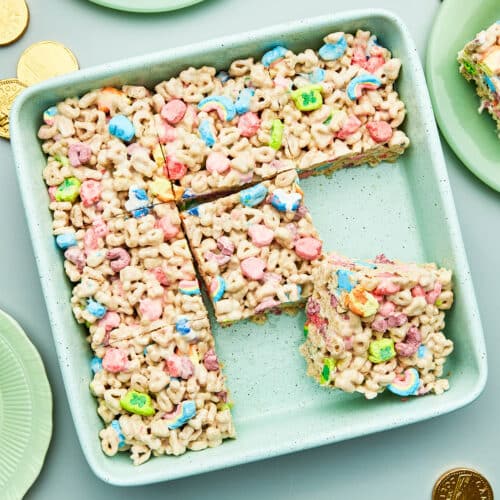
- Stir in 1 cup of your favourite chocolate candy, like M&Ms, chopped Mini Eggs, or chopped peppermint patties.
- Omit some of the cereal and add in 1 cup of rough chopped pretzels.
FAQ
What were Rice Krispie treats originally called?
The precursor to this treat might be puffed wheat squares, which are still made in Canada now and sold in vending machines, too (especially in the prairies).
How long do rice crispy treats last?
They'll be at their best when fresh, but will keep for at least three days at room temperature, or even longer. The cereal does start to go stale after a couple of days.
Why do homemade Rice Krispies taste different?
The ingredients in homemade Rice Krispies treats are different. Just marshmallows and butter, with no corn syrup, palm fat, or added sugar. The fresh butter makes a big difference.
If you make this Rice Crispy Treats recipe or any other no-bake recipes on the Baked Collective, please take a moment to rate the recipe and leave a comment below. It’s such a help to others who want to try the recipe. For more baking, follow along on Instagram, TikTok, and YouTube.
Classic Rice Krispie Treats
Equipment
- Square baking dish
- Parchment paper
- Mixing bowl must be microwave safe
- Wooden spoon or rubber spatula
- Measuring cups and spoons or a digital kitchen scale
Ingredients
- ¼ cup butter plus more for greasing the pan
- 40 large marshmallows from a freshly-opened bag
- 1 tablespoon vanilla
- 5 ½ cups Rice Krispies or other puffed rice cereal
Instructions
- Line a square baking dish with parchment paper. Lightly butter the paper and set aside.
- Place the ¼ cup of butter in a large microwave safe bowl. Melt the butter in the microwave, about 1 to 2 minutes.
- Add the marshmallows to the melted butter and stir well to coat.
- Place the bowl back in the microwave and heat the marshmallows until they are puffy and inflated, about 1 to 2 minutes.
- Remove the bowl from the microwave and, using a wooden spoon or rubber spatula, stir the marshmallows.
- If they are still holding their shape after stirring, continue to cook and stir them in 30 second increments until they are smooth and creamy.
- Add the vanilla to the melted marshmallows and stir well to combine.
- Pour the Rice Krispies into the bowl. Stir well until all of the Rice Krispies are coated in melted marshmallow and the marshmallow is evenly distributed.
- Scrape the mixture into the prepared buttered pan.
- Use a small piece of parchment paper to gently press the Rice Krispies evenly into the pan, including the corners.
- Cool the Rice Krispie treats for at least 30 minutes before slicing.